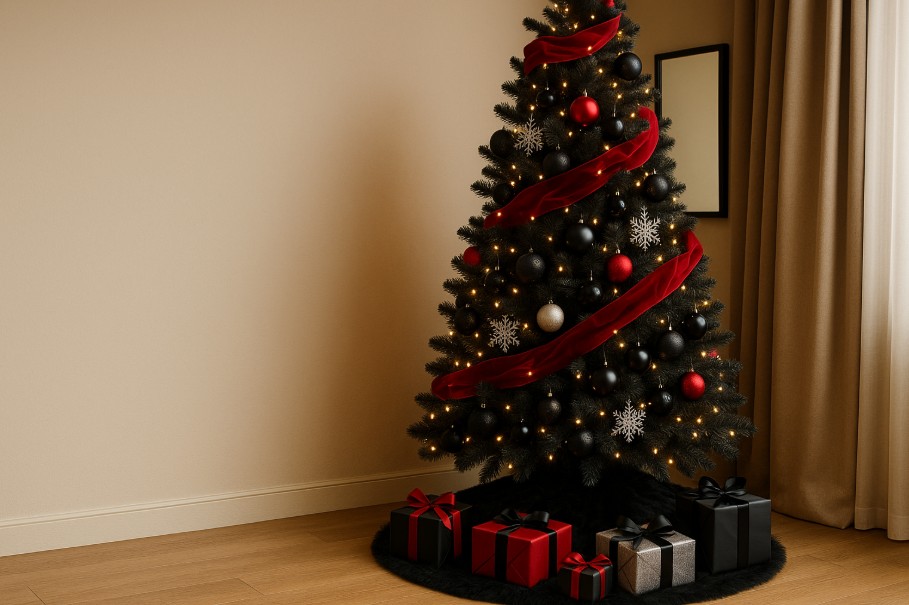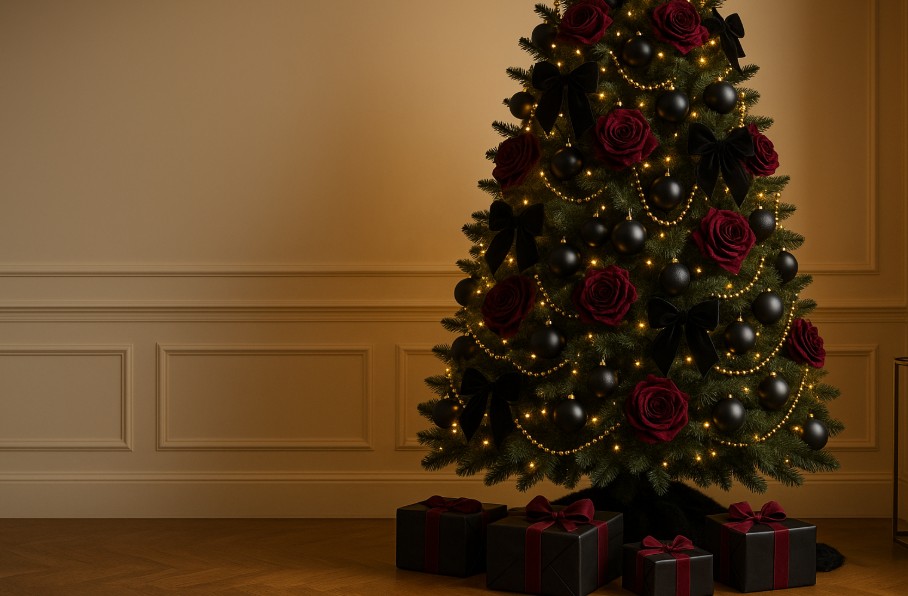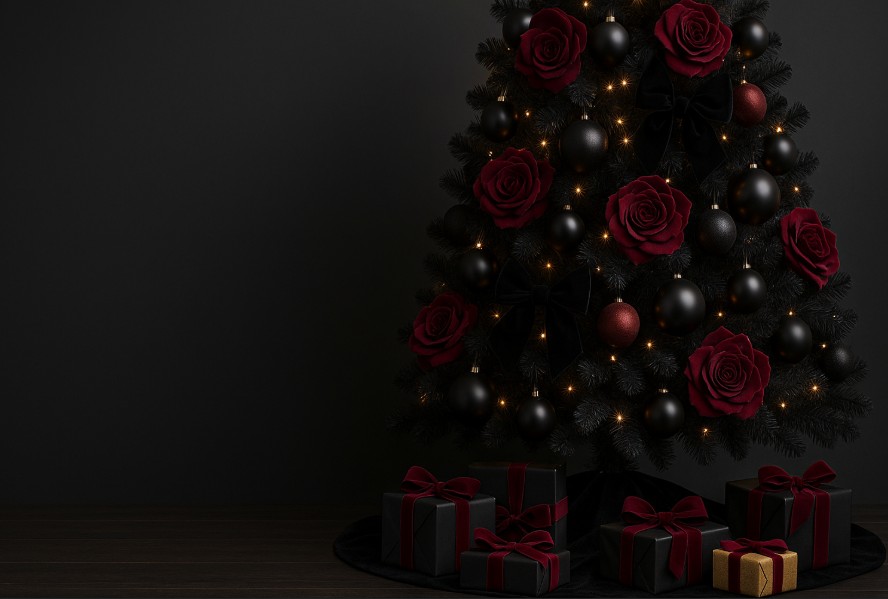
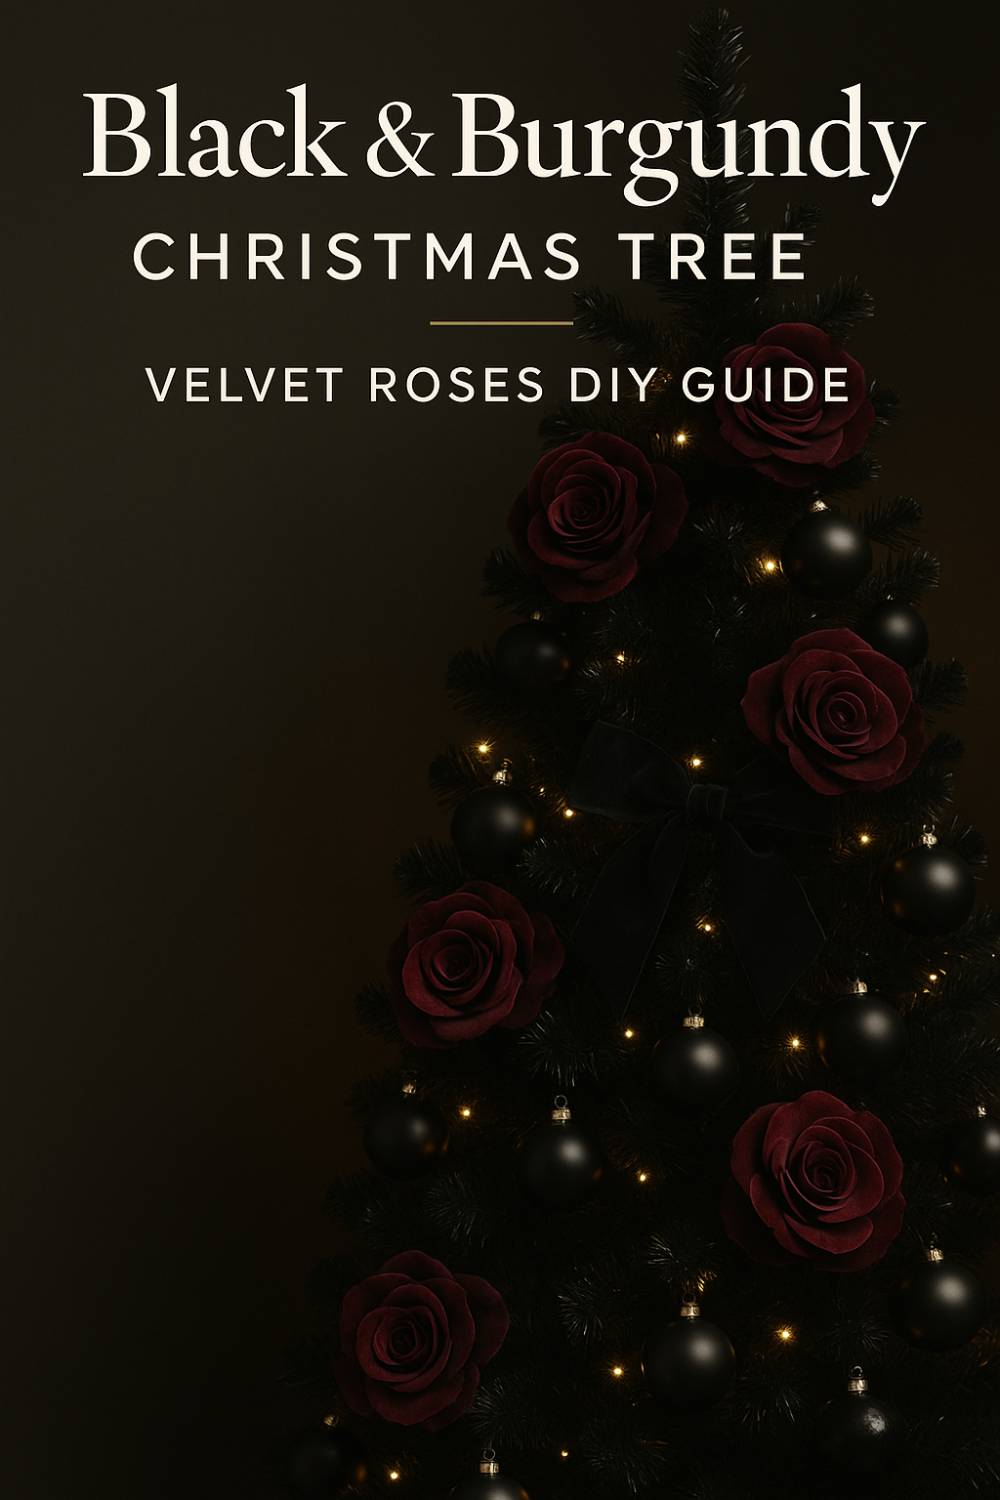
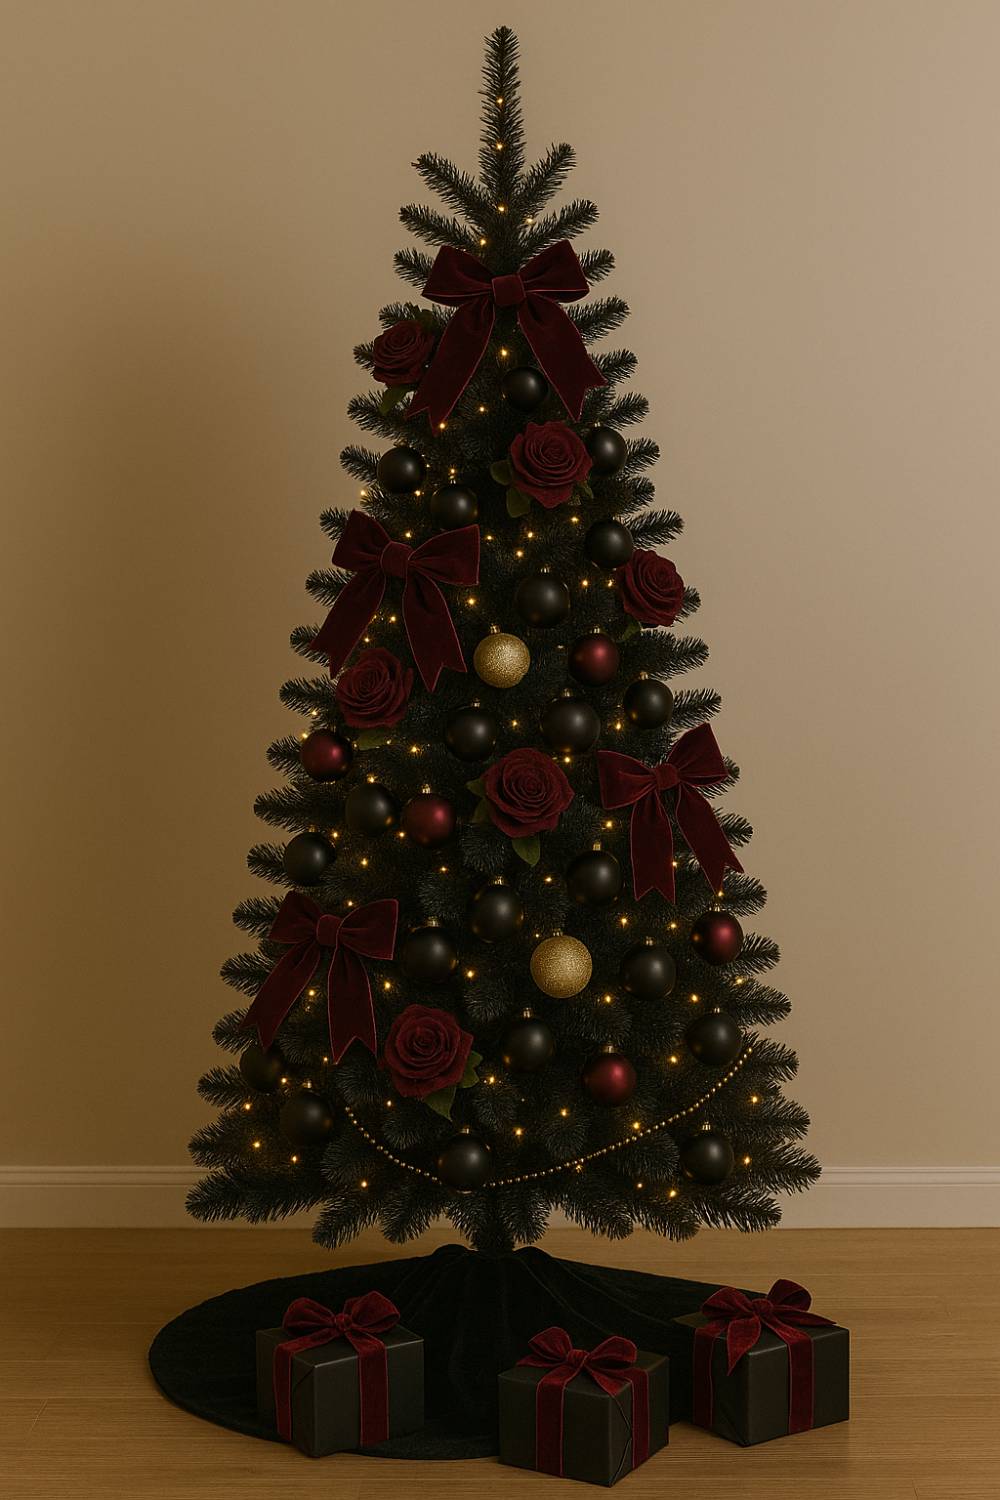
Inspired by this Pinterest-favorite look—a luxe mix of black ornaments, burgundy-red roses, black velvet bows, and warm gold fairy lights—this guide shows you exactly how to recreate the aesthetic step-by-step at home. The mood is dramatic yet refined: think couture eveningwear translated into holiday décor.
Why this palette works
-
High contrast = instant glamour. Black grounds the tree; burgundy brings warmth and richness; gold light adds glow and dimension.
-
Texture is the secret weapon. Velvet, matte finishes, and soft floral petals absorb light; metallic accents and fairy lights reflect it. The push-pull is what makes the tree photograph beautifully.
-
On-trend & timeless. The black-and-burgundy pairing is having a moment online, yet it won’t date like novelty color schemes
Supplies
Tree & lights
-
1 artificial black tree (7–8 ft / 210–240 cm is ideal). A deep-green tree also works; you’ll “darken” it with black décor.
-
Warm white LED string lights (200–300 bulbs for 7 ft; 300–400 for 8 ft). Choose 2200–2700K for a candle-like hue.
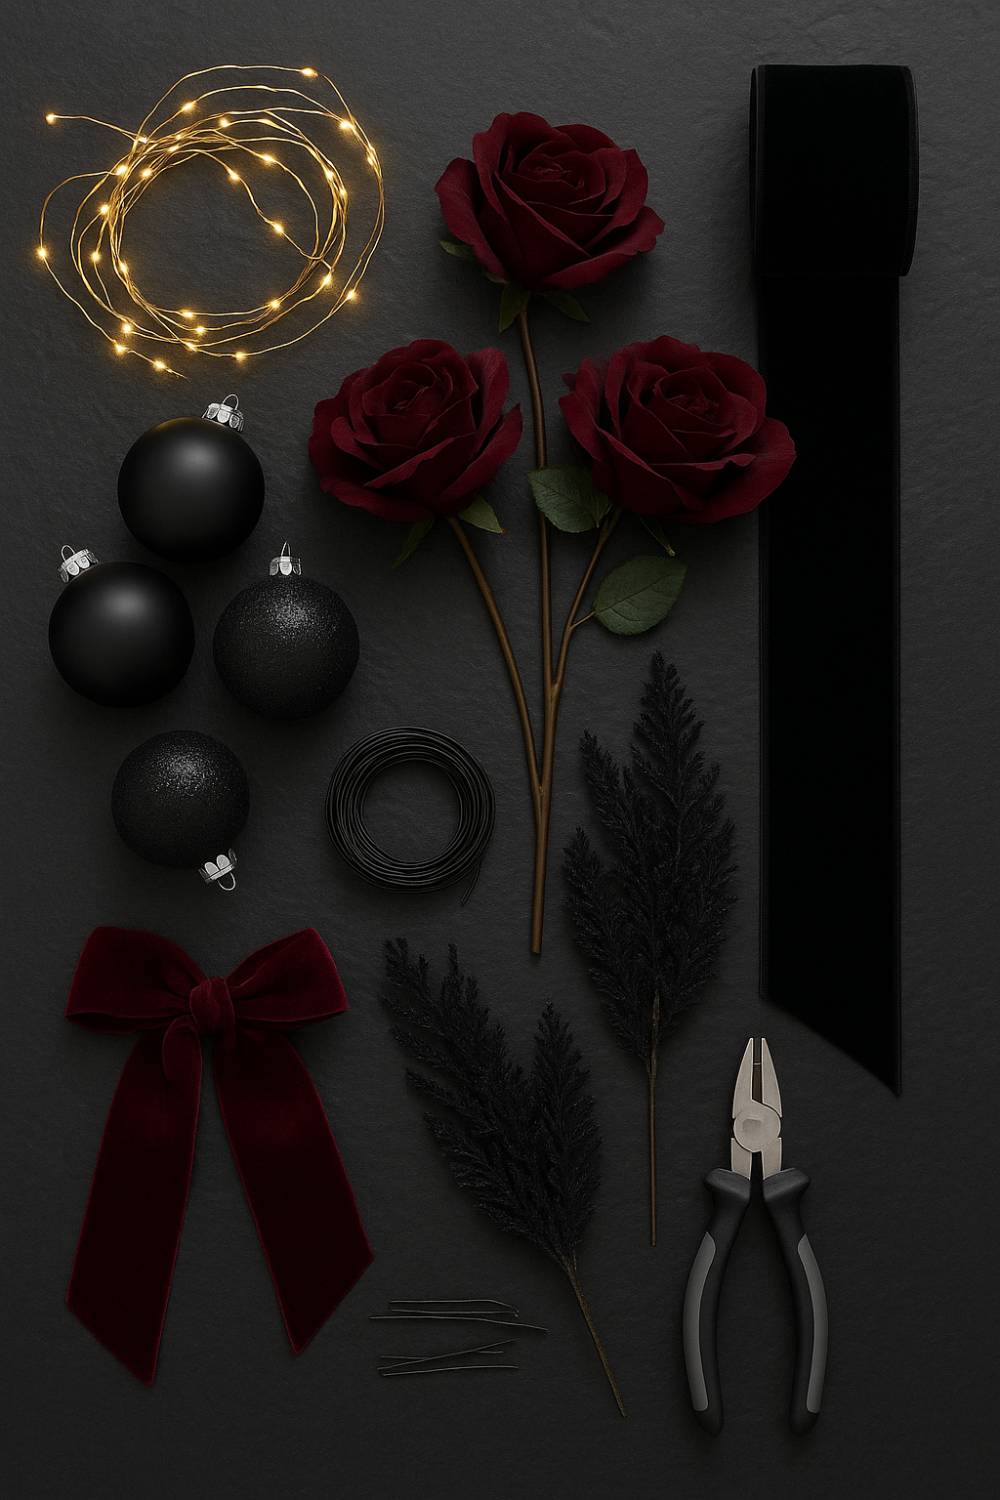
Ornaments & florals
-
Black ornaments: mixed finishes (matte, satin, gloss).
-
Burgundy ornaments: matte or satin work best.
-
Gold accents: a few glitter or mercury-style balls for sparkle.
-
Artificial burgundy roses: 12–18 stems (more for dense, runway-style impact).
-
Black velvet bows or wired velvet ribbon (5–7 cm / 2–2.75″ wide) for DIY bows.
-
Optional: black feather/fern picks, gold bead garlands.
Tools
-
Floral wire (green), wire cutters, floral tape.
-
Command hooks or twist ties (for anchoring ribbon in tricky spots).
Step 1 — Fluff & Pre-light for Depth
-
Fluff like a pro. Start at the base and fan each branch out in a “starburst”—one tip straight ahead, two angled left/right, one up, one down. This fills gaps before you even decorate.
-
Weave lights inward. Instead of wrapping like a barber pole, push lights into the trunk, then back out every 15–20 cm (6–8″). This “in-out” method makes lights glow from within the tree (think: jewelry case lighting).
-
Test and adjust. Dim the room and step back. You should see even, warm illumination with no dark “holes.”
Step 2 — Place Your Anchors (Big Pieces First)
Before small ornaments, set the structure:
-
Large black ornaments go on first in a triangular pattern around the tree. Place some slightly deeper on branches to create shadows.
-
Gold statement pieces (only a handful) are next—treat them like highlighter on cheekbones: strategic and minimal.
-
Burgundy roses will be the stars, but don’t place them yet; you’ll cluster them after the ribbon for perfect spacing.

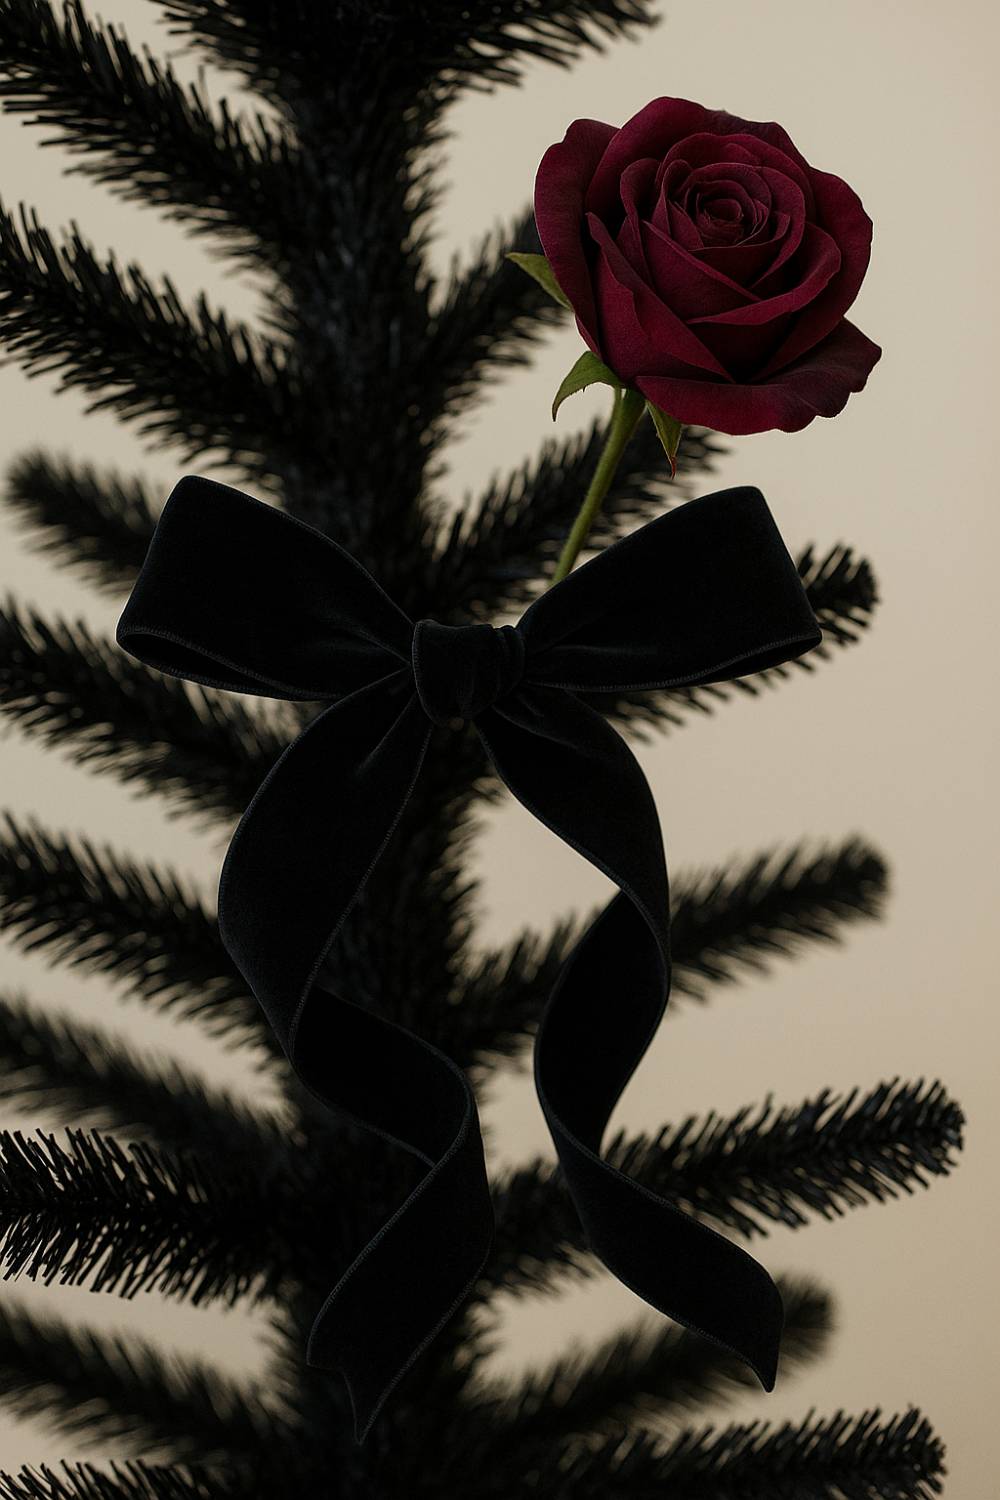
Step 3 — The Velvet Ribbon Technique
A signature of this look is the velvet. Choose black velvet bows for quiet luxury and burgundy velvet ribbon for drama. Two options:
-
Waterfall loops: Cut 60–90 cm (24–36″) strips. Tuck one end deep into the branch, create a loop, then tuck again 15–20 cm lower. Repeat in a gentle zigzag down the tree.
-
S-curve garland: Use long lengths to drift diagonally. Keep tension loose and let the velvet “pillow” slightly, never pulled taut.
Pro anchoring tip: Twist a hidden branch tip or use a 2–3 cm floral-wire “U” to pin ribbon invisibly from behind.
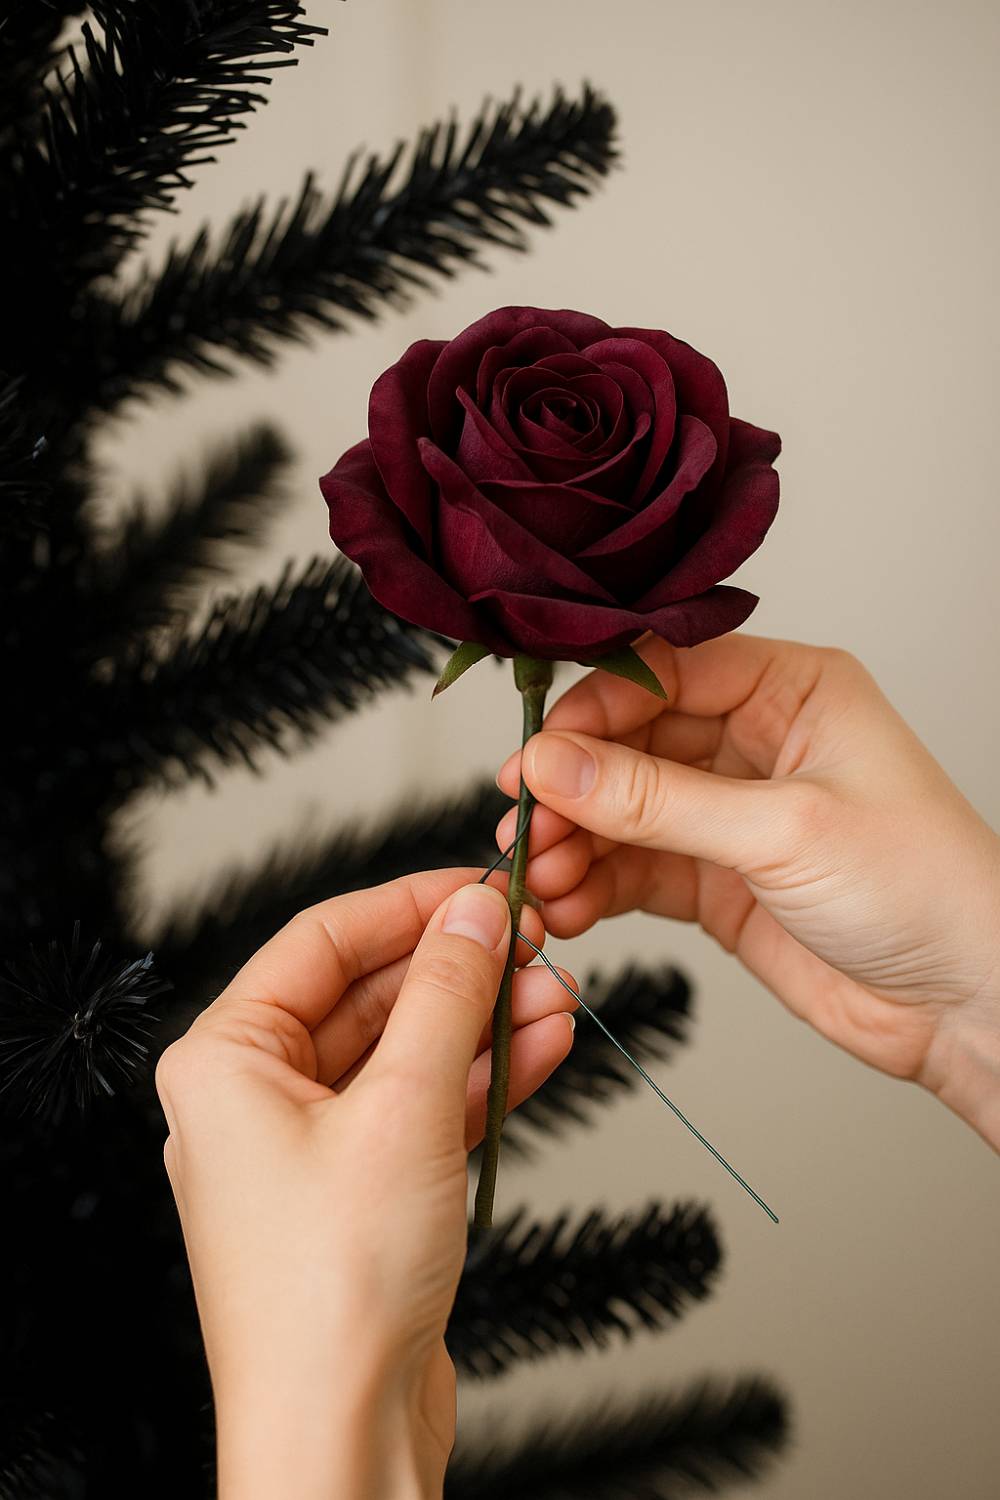
Step 4 — Craft & Place Rose Clusters
This is the couture moment. You’ll make mini floral “picks” for clean, secure placement.
-
Wire the rose. Wrap floral wire around the base of the bloom and down the stem; tape if needed for smoothness (Fig. 2).
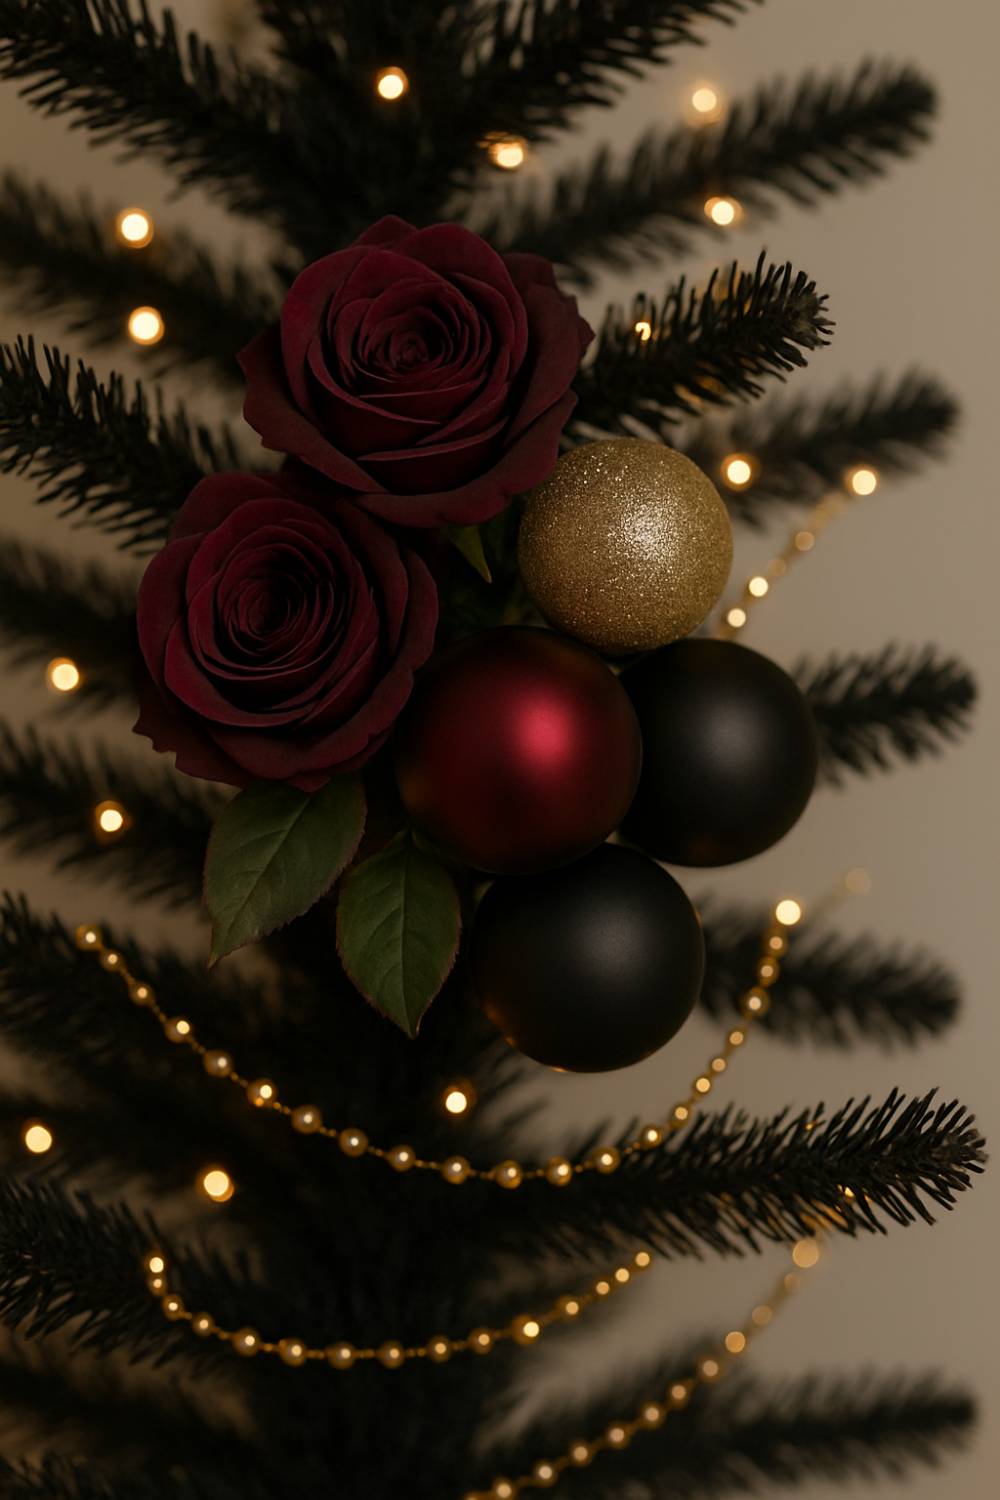
-
Build the cluster. Combine 1–2 roses + 2–3 ornaments (black + one burgundy or gold). Hold them together and bind with wire, leaving a 10–12 cm tail to anchor.
-
Placement rules.
-
Put clusters where the eye naturally lands: chest height and slightly above center.
-
Keep to odd numbers (3, 5, 7 clusters) for a balanced, designer feel.
-
Vary depth: tuck some roses 5–8 cm inside the needles so they glow under the lights (Fig. 4).
-
Styling ratio that rarely fails: 40% black ornaments, 40% burgundy elements (roses + ornaments), 20% gold accents. Adjust to taste.
Step 5 — Bows & Finishing Accents
-
Bows: Tie black velvet bows with 20–25 cm tails and mount them slightly off-center from roses so the textures don’t compete.
-
Bead garlands: Drape gold bead strands loosely, letting them “smile” between branches (Fig. 4). Avoid tight straight lines.
-
Fillers: Use small matte black balls tucked near the trunk to eliminate any stray light holes.
-

Bows & Finishing Accents

Step 6 — Style the Base Like a Set Designer
-
Tree skirt: Black faux fur or a heavy velvet circle instantly elevates the look.
-
Gift wrap: Matte black paper with burgundy velvet ribbons, then one or two gold boxes as “spotlights.”
-
Side décor: A chrome or mirrored side table with black tapers extends the theme without clutter.
Step 7 — Final Polish & Photo-Test
-
Step back 2–3 meters and snap a phone photo. Cameras are ruthless at revealing empty zones or crowded sections.
-
Balance check: If the middle looks heavy, move one cluster slightly higher and add a small black ornament lower to “weight” the base visually.
-
Dim to dusk. Turn off overheads; leave only tree lights. The roses should appear plush, bows dimensional, and gold points twinkly—not harsh.
Budget & Sourcing Tips
-
Use fewer roses, place smarter. Five to seven high-quality artificial roses look luxe if you group them in trios rather than scattering singles.
-
Upcycle ornaments. Spray older ornaments matte black (use primer + clear coat). A finish mix (matte/satin/gloss) creates depth without buying loads.
-
Velvet on a budget. Buy 2–3 meters of velvet fabric and cut ribbon strips; fold edges under and steam for crisp, bow-ready bands.
Care, Storage & Re-Use
-
Label by zone (top/middle/bottom) so you can rebuild the layout in minutes next season.
-
Velvet revival: A garment steamer brings bows back to life next year.
-
Roses: Store in tall tubes or wrap heads in tissue to prevent flattening.
-
Lights: Coil on cardboard; note bulb color temperature on the box (e.g., “2700K warm”).
Troubleshooting
-
Looks flat. Tuck 6–8 small matte black balls near the trunk to add shadow; pull 2–3 roses slightly forward.
-
Too red. Swap one or two burgundy balls for black and add a black velvet bow mid-height to calm the palette.
-
Ribbon slipping. Use a discreet wire “staple” from behind the branch; velvet is heavy and needs a hidden anchor.
-
Bulky clusters. Remove one ornament from the cluster and push the remaining pieces slightly apart so each surface catches light.
Frequently Asked Questions
Can I do this on a green tree?
Yes. Double down on black ornaments and black bows, then keep burgundy to roses and a few ball accents. The overall read will still be black-and-burgundy because the dark pieces dominate visually.
Warm or cool lights?
Warm white (2200–2700K) keeps burgundy rich and skin-tone flattering in photos. Cool white can skew burgundy toward magenta.
How many roses do I need?
For a 7–8 ft tree, 12–18 roses feel plush. If you’re minimalist, 7 placed in odd-number clusters is chic.
Topper or no topper?
Either way works. If you skip a topper, make your top 60 cm (2 ft) visually strong with one bow + one small cluster so the silhouette finishes decisively.

I’m Mustafa Şen and interior stylist who turns small and awkward spaces into comfortable, character-rich homes. I write about practical layouts, lighting, storage, and materials that age well—always balancing function with a warm, eclectic look.