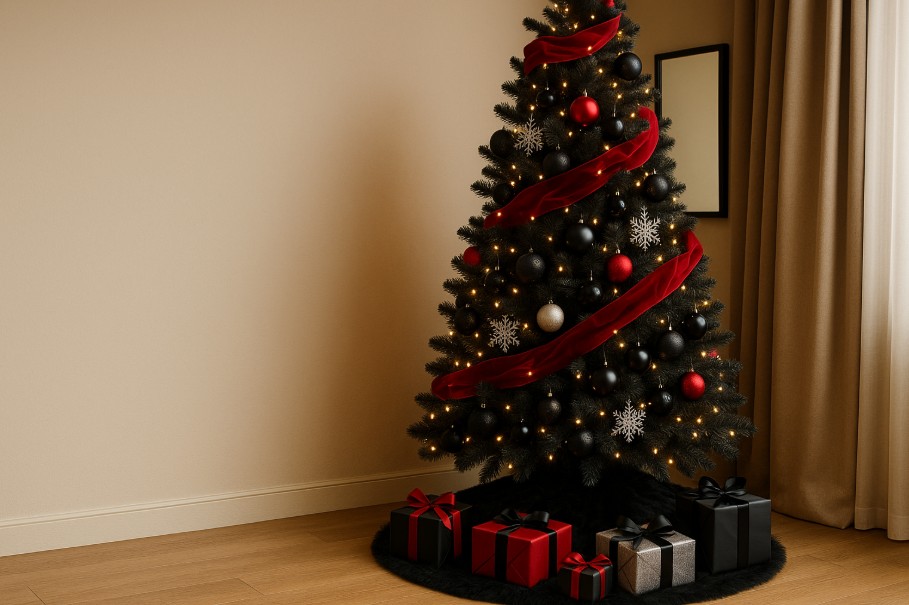
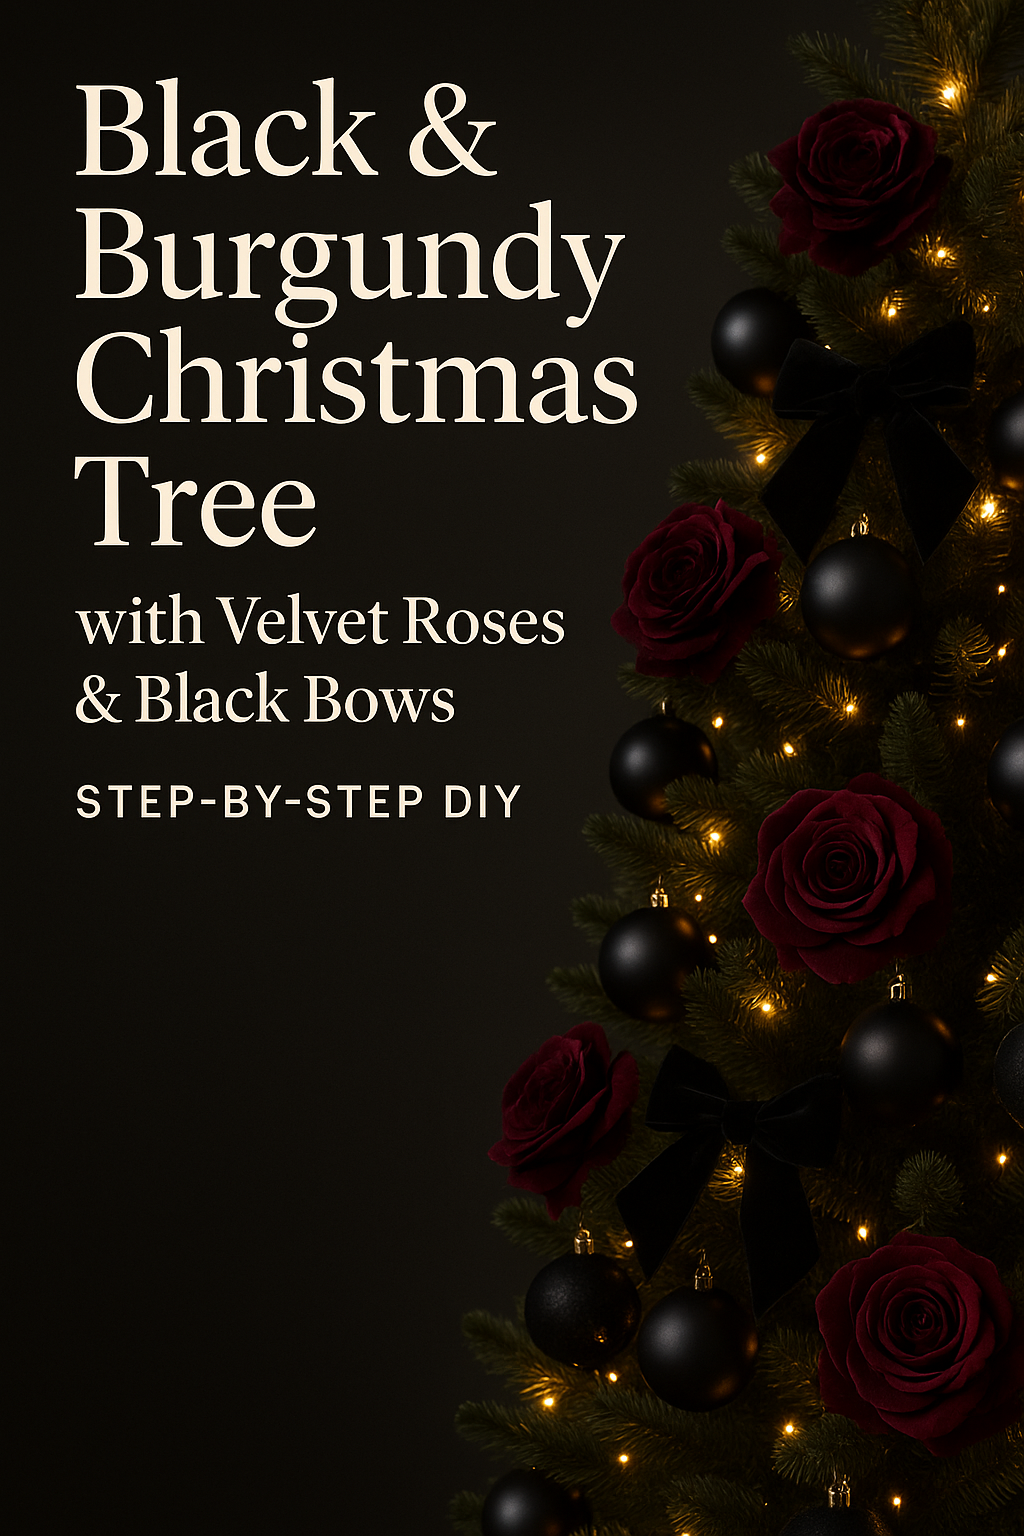
If you love the moody, couture holiday look that’s all over Pinterest—deep burgundy roses, black baubles, black velvet bows, and warm gold lights—this guide shows you exactly how to build it at home.
I’ll walk you through supplies, prepping faux roses, wiring, ribbon techniques, clustering, lighting, and final styling—plus pro ratios so your tree looks editorial in real life and on camera.
Why this palette works
-
High contrast: Black ornaments and bows create shadow and depth; burgundy roses add warmth and richness.
-
Texture mix: Velvet + matte + gloss + micro-glitter = dimensional, expensive-looking finish.
-
Photo friendly: Warm lights (2200–2700K) flatter burgundy and soften black so details don’t disappear in photos.
Supplies
Tree & lights
-
1 artificial green or black tree (7–8 ft / 210–240 cm).
-
Warm white LED string lights:
-
7 ft tree → 250–300 bulbs
-
8 ft tree → 300–400 bulbs
Choose 2200–2700K for candle-glow warmth.
-
Ornaments & florals
-
Black baubles (matte + satin + gloss mix), 30–40 pieces.
-
Burgundy baubles (matte/satin), 12–18 pieces.
-
Gold accent baubles or mercury/glitter ornaments, 8–12 pieces.
-
Faux burgundy roses, 12–18 stems (quality matters).
-
Gold bead garlands (optional), 2–3 strands.
-
Black velvet bows (ready-made) or wired velvet ribbon (5–7 cm wide) to tie your own bows.
Tools & fixings
-
Green floral wire (24–26 gauge) + wire cutters.
-
Floral tape (green).
-
A handful of twist ties or mini branch ties for stubborn spots.
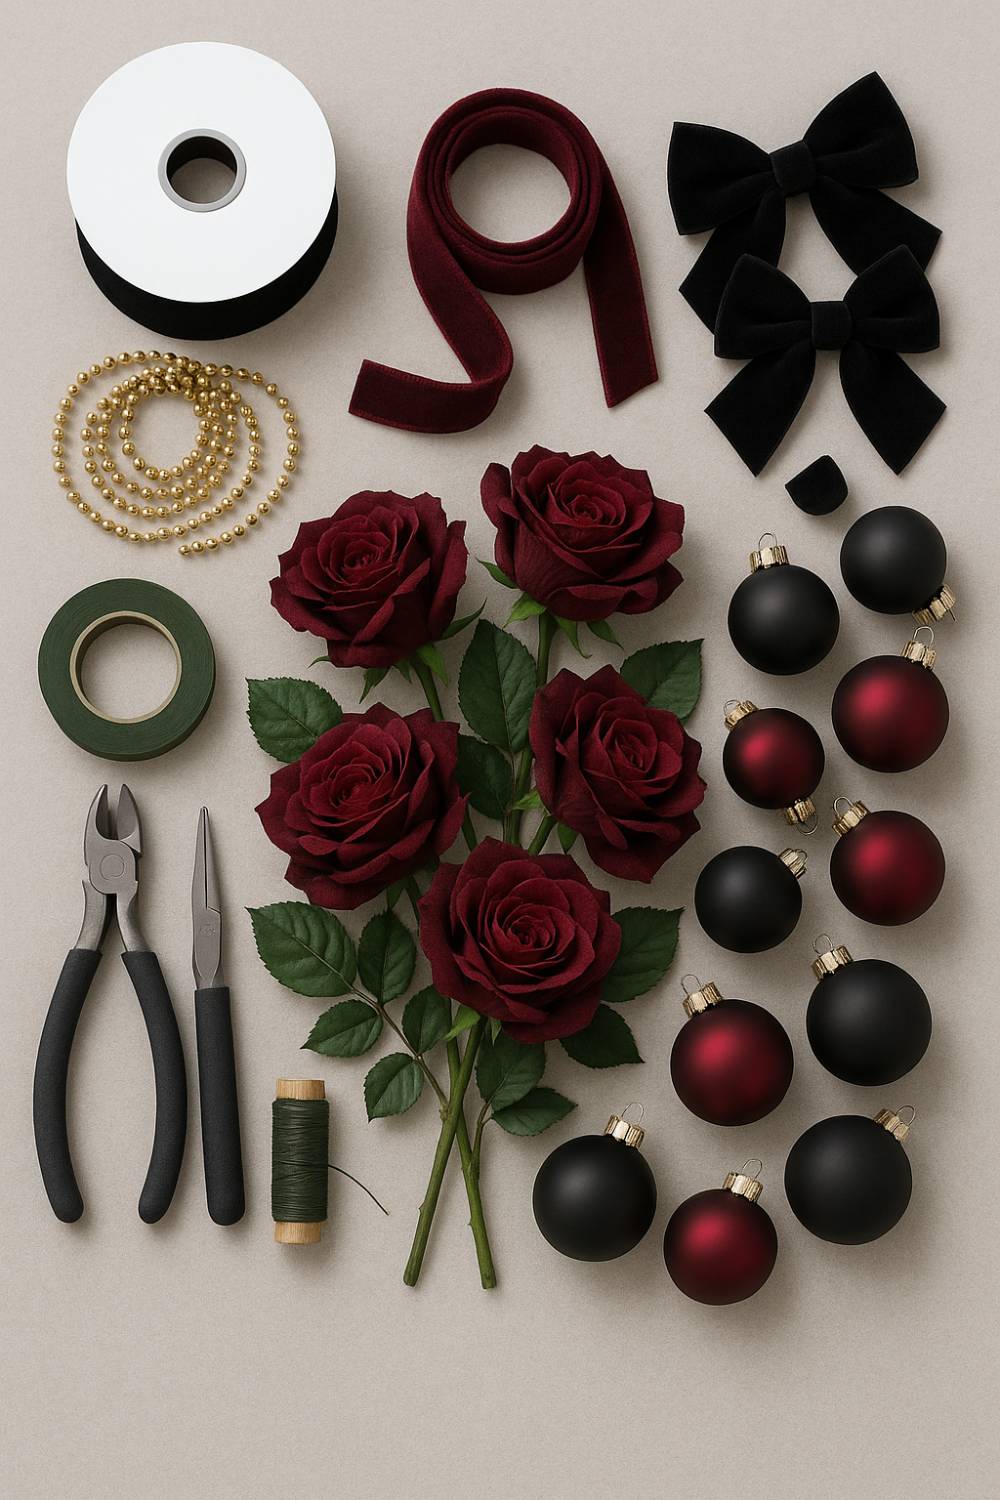
Alt text suggestion for Figure 1: “Top-down photo of supplies: black and burgundy ornaments, black/burgundy velvet ribbons, gold beads, faux roses, floral wire, wire cutters, floral tape.”
Step 1 — Fluff and pre-light for depth
-
Fluff by layer. Start at the base and fan each branch in a starburst: one tip forward, two angled, one up, one down. Fullness now saves fixes later.
-
Weave lights in-and-out. Push the strand toward the trunk, then back out every 15–20 cm (6–8″). This back-and-forth creates a glow from within instead of a flat wrap.
-
Test in a dim room. You want even coverage and no “dark tunnels.”
Step 2 — Prep the roses
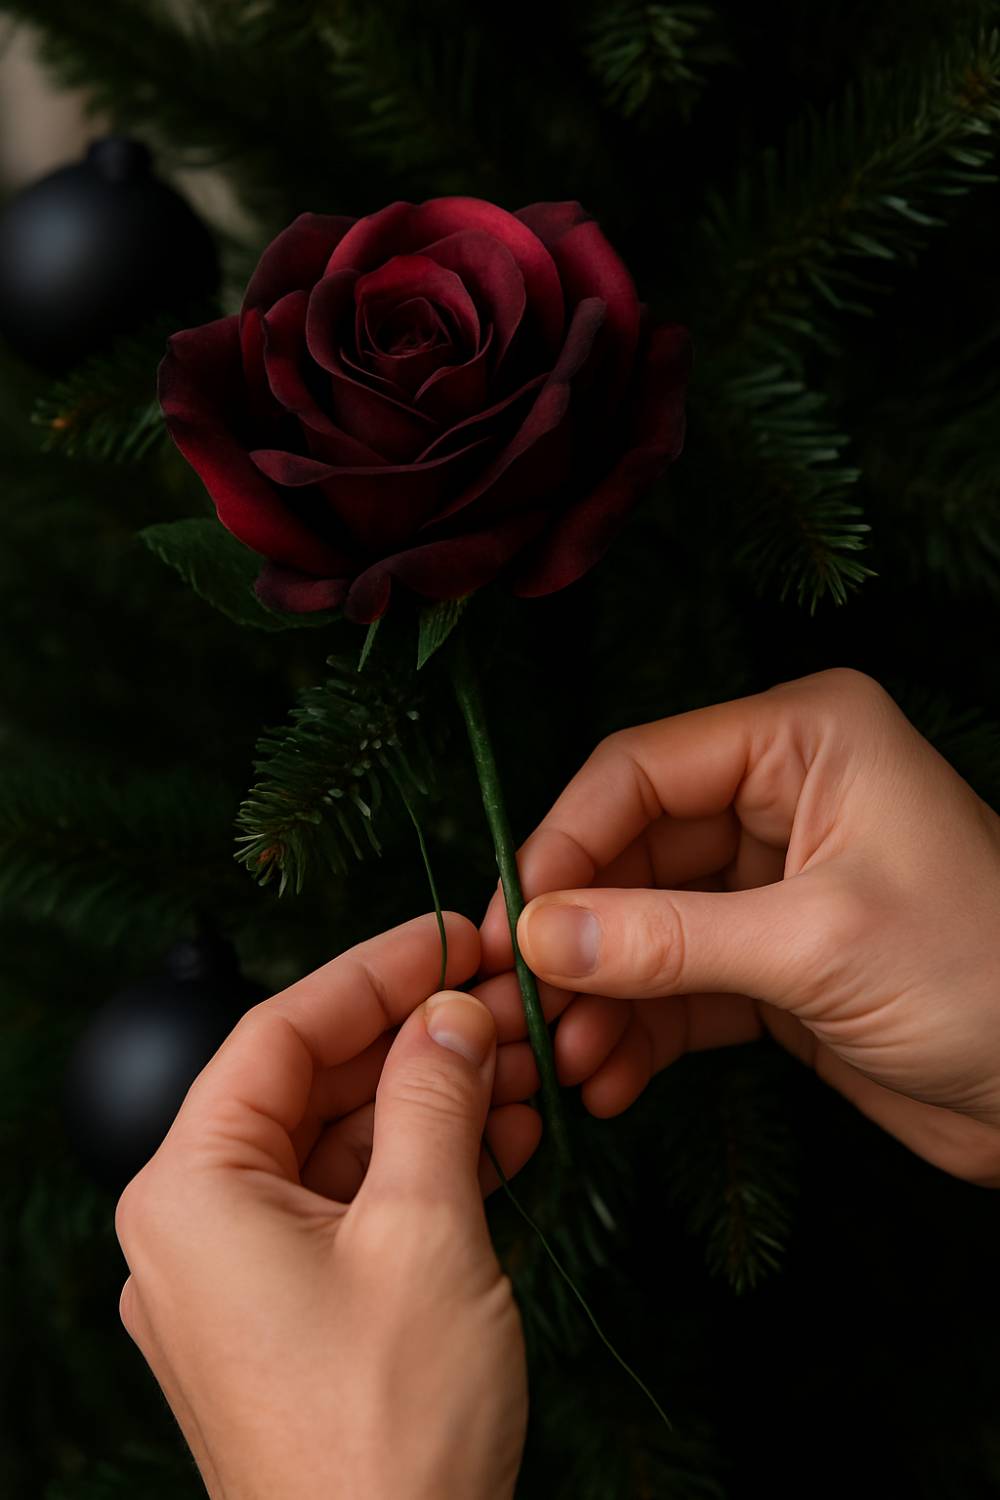
Faux roses look most realistic when they’re mounted like professional floral picks.
-
Shorten stems to 10–15 cm (4–6″).
-
Wire the base. Wrap floral wire just under the bloom’s calyx; spiral down the stem to add strength.
-
Tape for grip. Cover the wire with floral tape (stretch as you wrap so it sticks). Leave 8–10 cm of stem for anchoring into branches.
Alt text for Figure 2: “Hands wiring a deep burgundy faux rose; floral wire spirals down the stem before being wrapped in green floral tape.”
Step 3 — Establish your anchors
Before you add statement roses, place the big, visual “weights.”
-
Large black baubles go on first—form triangles as you move around the tree. Some sit slightly inward on branches to create shadow and dimension.
-
Add 8–12 gold accents spaced vertically; think of these as tiny spotlights.
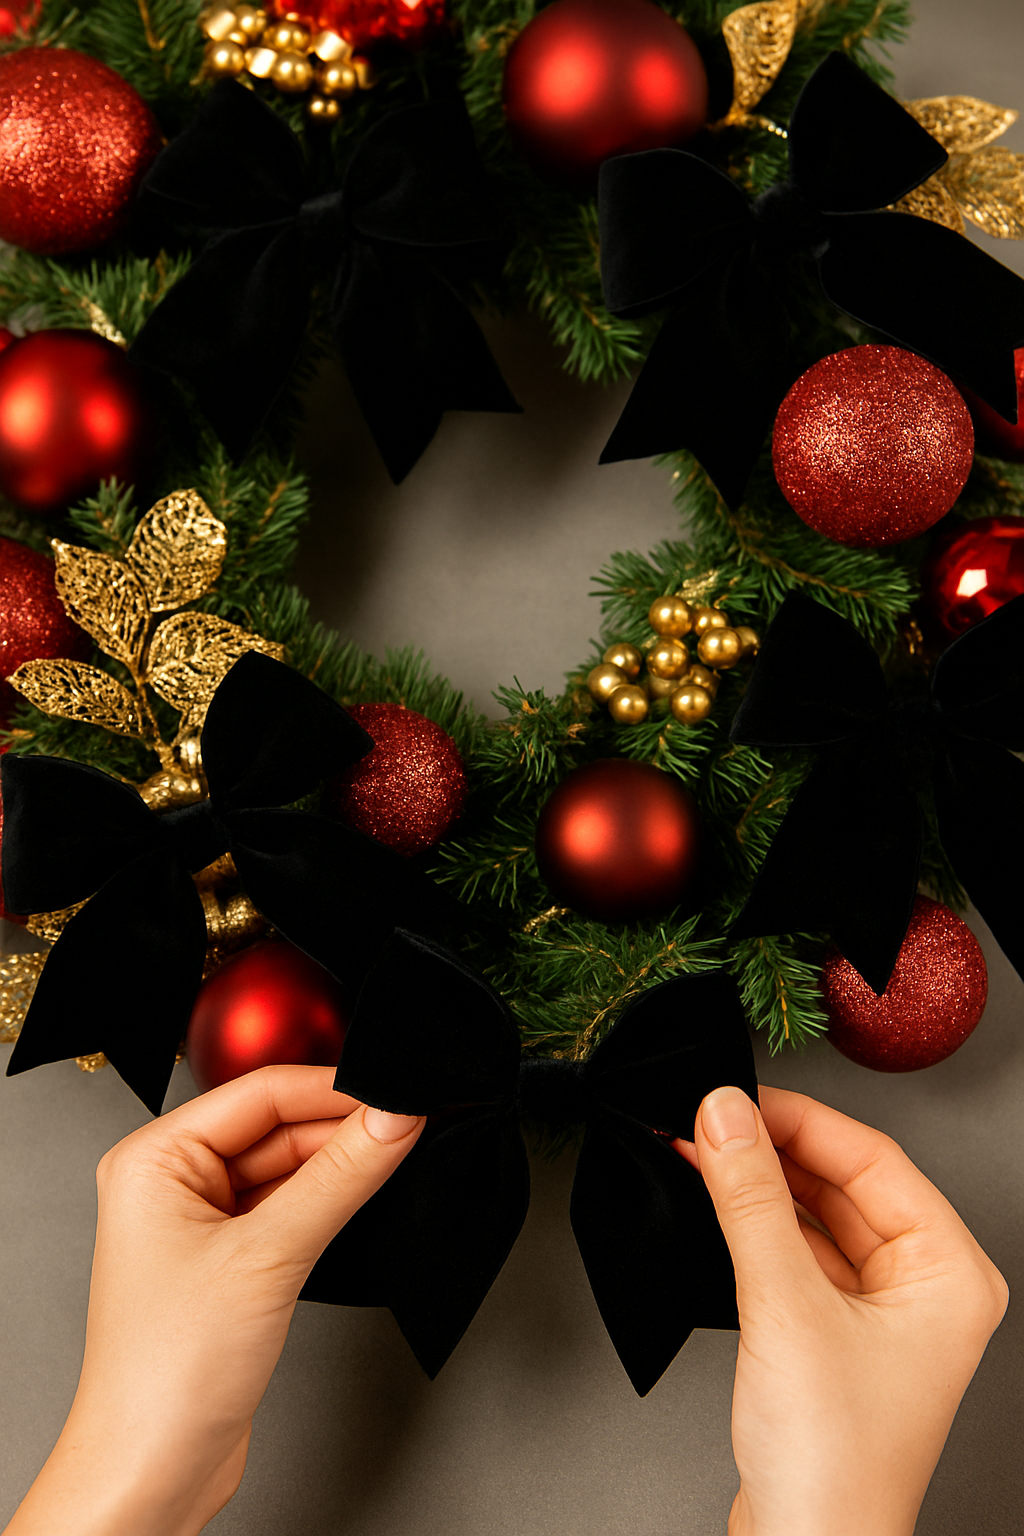
Step 4 — Ribbon & bow technique

Two ways to work velvet:
-
Waterfall loops: Cut 60–90 cm (24–36″) strips. Tuck one end deep, form a soft loop, tuck again 15–20 cm lower. Repeat down the tree in a gentle zigzag.
-
S-curve garland: Use long lengths and drift diagonally from top to bottom. Keep tension loose so the ribbon “pillows” instead of pulling tight.
Bows: Tie medium-to-large black velvet bows, tails 18–25 cm (7–10″). Mount them slightly offset from where roses will go so the elements don’t compete.
Alt text for Figure 3: “Close-up of hands attaching a black velvet bow to a tree using floral wire around the branch.”
Step 5 — Build rose clusters

Clusters add that editorial, designer touch. You’ll make small groupings and distribute in a rhythm.
-
Create cluster picks: Bind 1–2 roses + 2–3 ornaments (mix black and one burgundy or gold) with wire. Leave a 10–12 cm tail to anchor.
-
Placement formula:
-
Use odd numbers (3, 5, or 7 clusters) for a balanced look.
-
Place two clusters at chest/eye level, one slightly above, and the rest alternating left/right as you spiral around the tree.
-
Vary depth: one rose sits 5–8 cm inside the needles; another sits slightly forward to catch light.
-
-
Designer ratio that rarely fails: 40% black ornaments, 40% burgundy elements (roses + burgundy baubles), 20% gold.
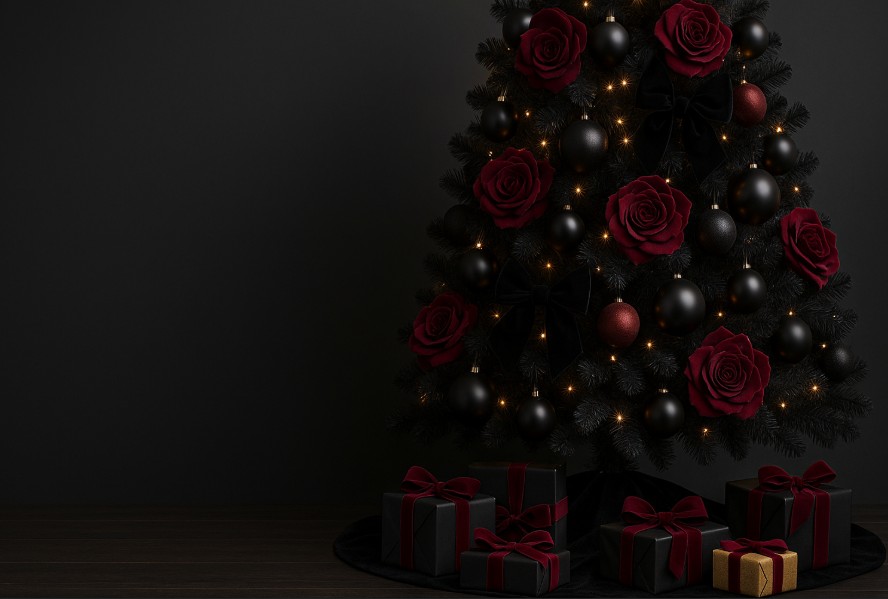
Alt text for Figure 4: “Close-up of two burgundy velvet roses beside matte black baubles, a black velvet bow, and a gold bead garland lit by warm micro lights.”
Step 6 — Add smalls, beads, and balance
-
Fillers: Tuck small matte-black balls near the trunk to erase light holes.
-
Bead garlands: Drape gold beads in loose “smiles,” never in straight lines—let gravity create soft arcs.
-
Stand back & photo-check: Snap a phone pic from 2–3 m (6–10 ft). Photos reveal gaps your eyes miss.
Step 7 — Style the base and the room
-
Tree skirt: Black faux fur or velvet instantly elevates.
-
Gifts: Wrap in matte black paper; add burgundy velvet ribbons. Include one or two gold boxes to echo the highlights.
-
Side décor: A chrome/mirrored side table with black taper candles extends the palette without clutter.
Step 8 — Final reveal
When the lights dim, you should see:
-
Roses reading as plush and dimensional (not flat).
-
Bows crisp with gentle tails.
-
Gold accents twinkling, not glaring.
-
A balanced silhouette from base to top.
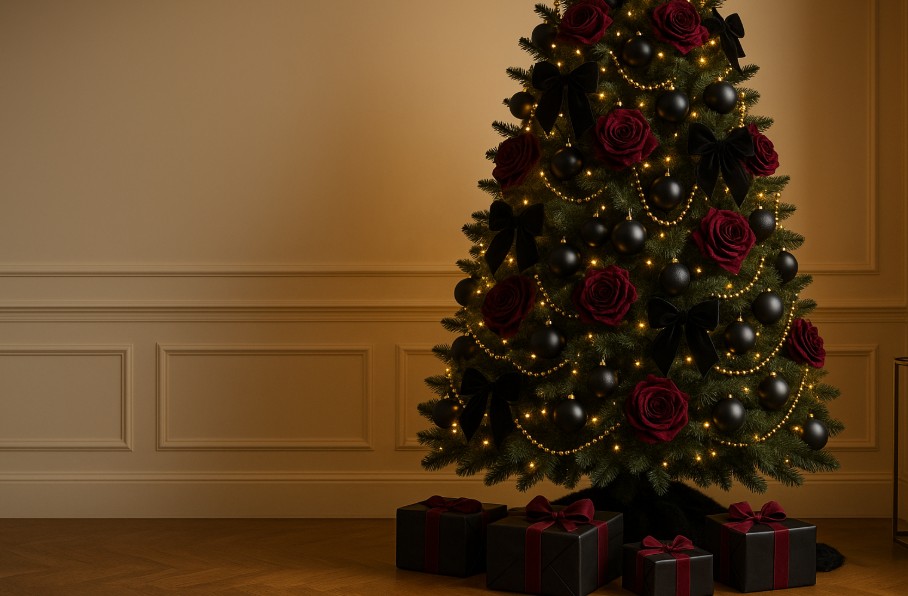
Alt text for Figure 5: “Full Christmas tree with burgundy roses, black bows, black baubles, and gold bead garlands glowing against a cream wall.”
Pro tips (to make it look expensive)
-
Mix finishes: Matte + satin + gloss prevents a plastic look.
-
Scale variety: Use at least three ornament sizes (XL focal, medium, small fillers).
-
Negative space: Don’t choke the tree—intentional breathing zones feel luxury.
-
Color temperature matters: Stick to warm lights. Cool white pushes burgundy toward magenta.
Budget & sourcing ideas
-
Paint your stash: Spray older baubles matte black (use plastic primer + clear coat).
-
DIY velvet: Buy velvet by the meter and cut ribbon strips; fold edges under and steam for crisp bows.
-
Fewer roses, smarter placement: Five to seven high-quality roses can look luxe if clustered instead of scattered.
Troubleshooting
-
Looks flat. Add 6–8 small matte-black ornaments toward the trunk to deepen shadows; pull one rose forward.
-
Too red. Swap two burgundy baubles for black; add one black bow mid-height to calm the palette.
-
Ribbon slipping. Use a tiny U-shaped floral wire “staple” from behind the branch to grip the velvet.
-
Middle feels heavy. Move one cluster up 20–25 cm (8–10″) and add a small black bauble lower to visually weight the base.
FAQs
Can I use a green tree instead of black?
Yes. Double up on black ornaments and bows; let the burgundy roses and a few gold accents do the talking. The palette will still read black-and-burgundy.
How many roses do I really need?
For 7–8 ft trees, 12–18 feels plush. Minimalist look? 7 placed in odd-number clusters.
Topper or no topper?
Optional. If you skip a topper, ensure the top 60 cm (2 ft) has one bow + a mini cluster so the silhouette finishes with intent.
What about kids/pets?
Use shatterproof baubles for lower branches; keep roses and bows slightly higher, secured with wire.

I’m Mustafa Şen and interior stylist who turns small and awkward spaces into comfortable, character-rich homes. I write about practical layouts, lighting, storage, and materials that age well—always balancing function with a warm, eclectic look.